Not surprisingly I have had some time on my hands at home over the past few months where I would normally be going out to do something. There are a lot of little projects that finally got the attention they needed which invariably led to more little projects. One of those little projects was to straighten up and organize the spare bedroom where we keep our compound bows and archery equipment. That job still isn’t complete because well, one thing led to another. There is a logical flow as to why the main goal was never achieved as you start into one portion of it only to get sidetracked by something you discover in the process of trying to get the task completed that really needs your attention.
In my case, while dusting the bows, I really didn’t like the fact that our releases where pulling on our nock loops, or D-loop, while being stored. Maybe nowhere but in my head, I felt that this type of storage only led to eventual fatigue of the loop fibers. If you store your release like this you know that the D-Loop deforms under the weight and isn’t as open as the fibers start to build a “memory”. So the thought of what I could do to still have my release stored on the bow but not affect my D-loop negatively began to circle in my head.
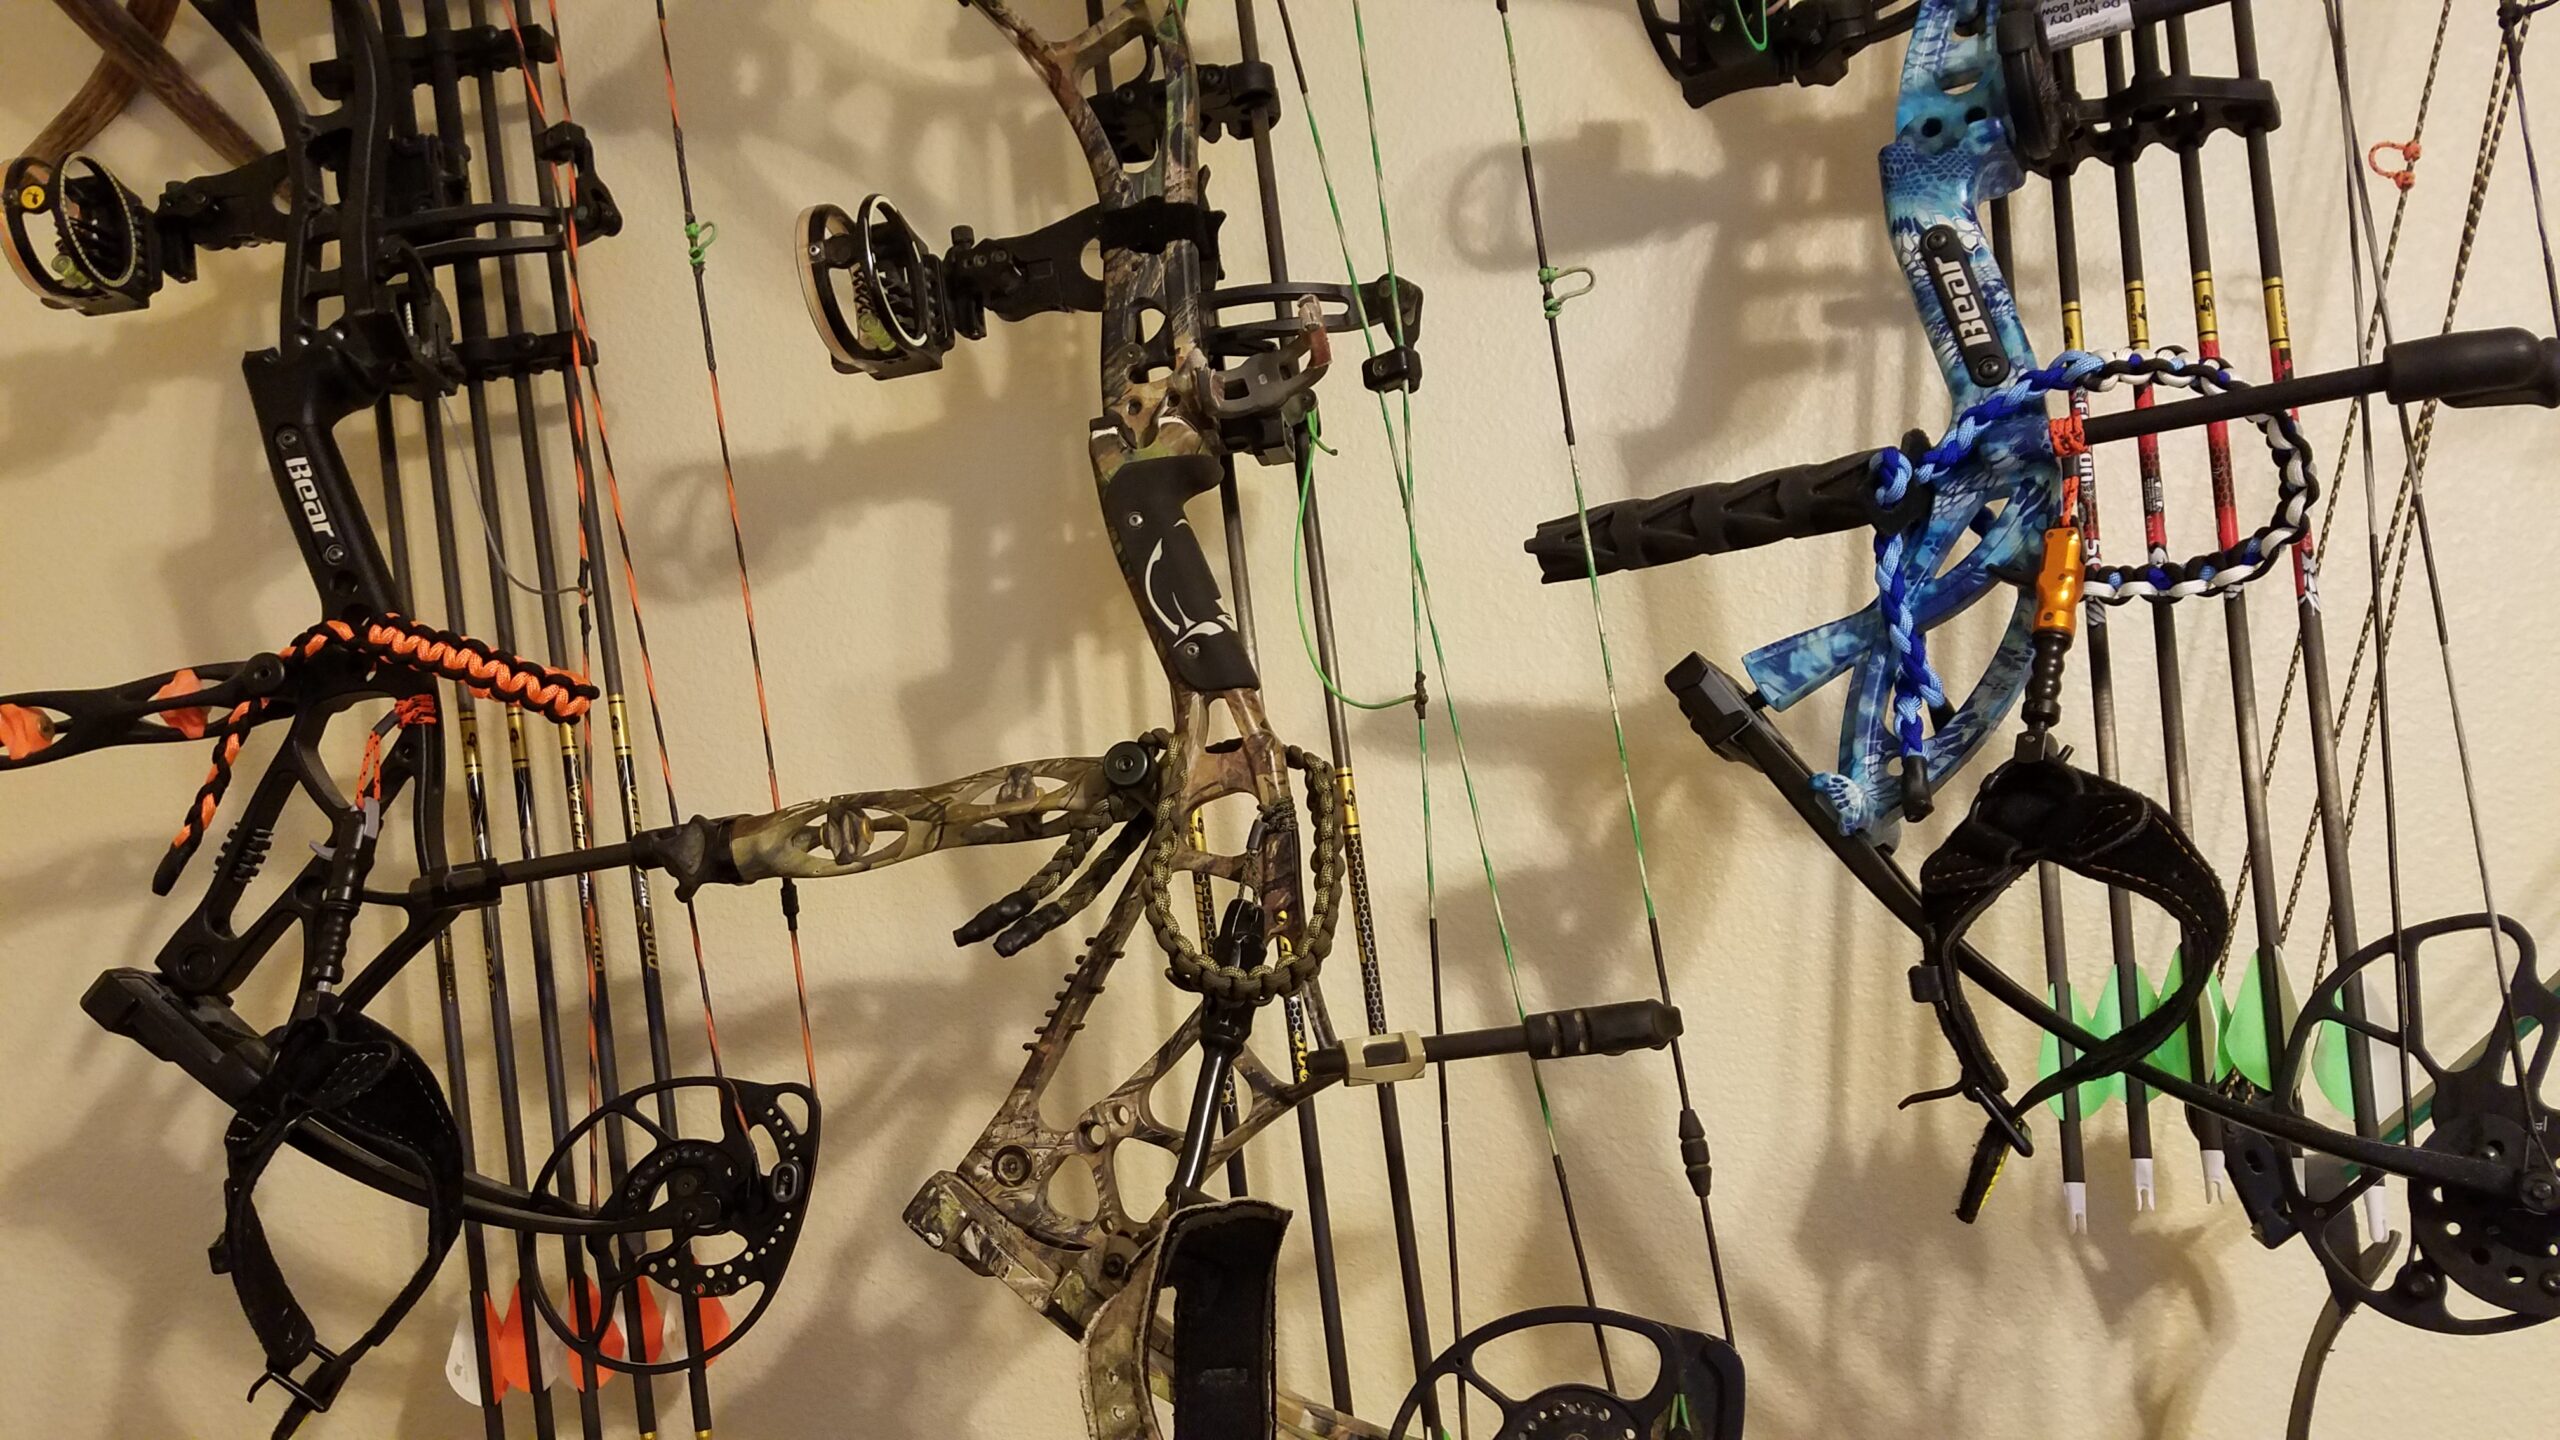
I looked at the structure of the riser and limbs of each of our bows carefully. Each bow had a spot where I could tie off a loop with minimal impact to bow performance and dampening. I headed to the garage. There I grabbed my Atwood Rope utility cord and heat shrink tubing. I cut a six inch section of cord off the spool. With the cord, I tied a clove hitch onto a section of riser. With the remaining open end of the cord, I tied another clove hitch right next to it. I took a small portion of ¼” heat shrink tube and slide it over the loop that was now created. I snipped the cord off near the knot and used a lighter to flare out the end to secure it on both sides. Then I heated the shrink tube while pulling the loop tight to make sure the clove hitch couldn’t back out. The end result is pictured below and it created the perfect set up to keep our releases with each bow.

Now I wish I could say that once I had completed my little D-Loop rescue on all three bows I returned to the task of straightening up the guest bedroom. Unfortunately, that would be untrue. Over the years I have begun to build up quite a store of 550 paracord. It is very useful for a lot of different applications from securing your notched game tag to a harvested animal to creating a tether for a kayak. As I held my Bear Agenda 6 the stock black Trophy Ridge bow sling just stuck out like a sore thumb against the camo pattern. I wasn’t quite sure how they made it. It started with a traditional three-strand flat braid but then went into a cobra braid then back into the three-strand braid. Cobra braids traditionally use four strands so it kind of threw me for a bit when it hit me. Instead of having two strands run down the center like a normal Cobra braid would, they must only have one. I grabbed my Allen wrench set and removed the set screws that held in my factory sling. Once I had it out I used it as a length pattern for my replacement sling.
Once again I went to the garage and pulled out my bag of paracord along with some electrical tape. I found the colors I wanted, a Mil-Spec OD green, and a commercial green cord with a much shinier sheath. I cut all the cords to 3 feet, secured one end with electrical tape, and began to work. I found out after a bit that the two cords that would be used for the outside edges of the Cobra braid needed to be longer. I undid everything and recut two cords at 4 feet long this time. Once I had mimicked the factory bow sling, I used electrical tape to secure the end again. I then used some scissors to cut in the middle of the taped ends. I already had my shrink tube out from the previous project so I selected 3/8” tube. I cut 1” sections and slide them on over the electrical tape leaving just a bit of overhang on the ends. Using my heat gun, I shrunk the tube over the ends to create a professional look. I then repeated the process for each of the other two bows in color combinations that matched the color pattern of each.


My daughter wanted a bit trickier bow sling to make using a four-strand braid into the cobra. There is a great video produced by Paracord Planet on how to make one of these. The finished product turned out nicely to match her Kryptek Typhon pattern.

After making the changes to each bow, my daughter and I tested them out on our range. We were happy to see we didn’t have to change our sights or retune the bows. This spring I even took a nice black bear with my Agenda.
If you have any questions on how to make these enhancements to your bow please contact us and we would be happy to help. For a small fee, we would even send you a bow sling or materials for a release loop. After all, I still haven’t straightened up the guest bedroom so what is one more “distraction”?
- L. Yarbrough, Bucks & Beers